
Before getting into the map editting itself, let’s review some basics.
The game runs in a 320×240 resolution, so you do not need, for example, background images that have a greater height than that – but because it scrolls, the width can be greater. It is divided in tiles that are square of 16×16 pixels size.
Each stage has tree maps total, eacho one have its own properties like background image. You can create links between maps that the user touch and starts a transition between them.
The map is divided in tiles, the squares shown by the dashed lines you see in the edit-area on the right of the editor. Each tile can have an tileset, a 16×16 part of the palette image, and also what type of terrain it represents. Above it, you can also put enemies, objects and links. The red dashed lines in the edit-area, represent a game screen width, in total 20 tiles, so, when desighn a closed room, you can use it as a guideline for making it the right size (again, 20 tiles). There are two levels of tiles, in most cases you just need the background ones, but if you want to have some areas that the player and enemies are shown under a tile, for example fake platforms that are actually not solid, you can use the overlay type.
On top of the option boxes, in the left, there is a selector for stage and map. Also, there is one for difficulty and constraint. This is used for placing enemies and objects that will appear only to that difficult or above. For example, if you have two platforms, and want to have only one of them appearing in easy, but two on normal and tree on ahrd, you adding each enemy, you just change this dialog. The constrain means you can add the enemy of object only for that difficulty, or if the one above (harder) also will have it. I recommend using this with caution, as can be very confusing and you might end up forgetting enemies and objects from one or other difficulty.
With that, let’s proceed with each section.
Properties
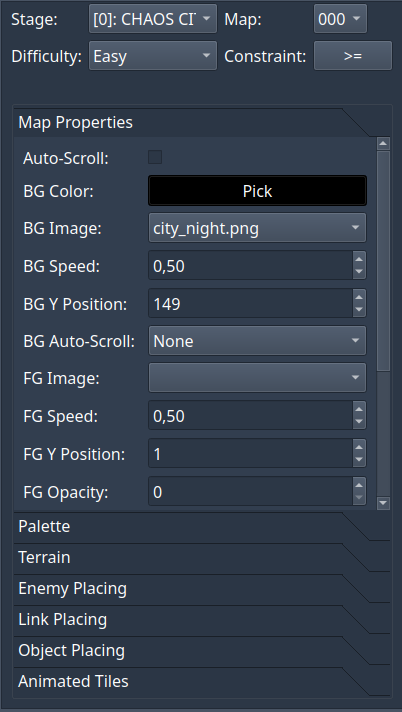
Auto-scroll: This flag, if enabled, makes that map to move from right to left, meaning that, instead of the player controlling the position of the map on screen, it will keep moving (scrolling) until it reaches a wall that is fully blocked (a column with all tiles rows as solid terrain), or the end of that map.
Background Color: Defines one solid color you map will be painted with, before the background image is drawn. That way your background image don’t need to use the whole heigth of the screen.
Background Image: Allows you pick one image that will be shown under the tiles and all objects, enemy, player and other things in the map. The image will repear each time it reaches its width, until it fill the whole screen lenght (320 px).
Background Speed: This adjusts how fast the background image will move. It can be faster or slower than the tiles. Play with the values to see the results in-game that you think better match the effect you want.
Background Vertical (Y) Position: Used if your image height is smaller than the screen resolution, that serves to adjust the position the background image will be shown in the vertical axis.
Background Auto-Scroll: Allows to define if, instead of moving based on the scroll caused by player movement, or the auto-scrolling, it will keep moving all the time. There are a few options, like moving from bottom to top or vice-versa, left to right or vice-versa and one option, not yet implemented, for diagonal move.
Foreground Image: Instead of showing under the tiles and objects in the map, this will show above all of it. The other options, except for opacity are the same as the background, so please refer to those for details.
Foreground Opacity: Because the foreground image stays above even the player character, it can just hide it from the person playing the game. To avoid that, you can use this setting to adjust how transparent or opaque the image will be. The value is a percentage of how opaque the picture is, meaning 100% is fully opaque, 50% is half transparent, and 0% if fully transparent (so, there is no reason to use less than 10 to 20%, because the image just won’t be visible at all).
Map Graphical Effect: This adds an special effect to that map, usually relatred to climate. It can show rain, snow, underwater, train (every few seconds the screen will chunk like if you are inside of an old train), flash stopper show sparks as if there is a great brightness, liughting bolt shows thunders and (indirect) lightning, a Shadow in the top of the screen, and Inferno simulates a very red and hot place.
Map Graphical Effect Mode: Defines how the effect will be applied on the map. Background means the tiles, player and objects will be over, or not affected by it. Full will be applied also on the tiles, and overlay will apply it to player, enemies and objects also.
View Options: While editting the map, sometimes it is useful to hide some parts to better see what you are doing, so here you can disable the edit area showing the background color and image and the foreground image.
Palette
This section is used to add tiles into the map throught the edit-area. Here you can select the palette file. Please be aware it is a single palette for the tree maps on the stage. Also, you can select if the tile you will add is above the enemies and players.
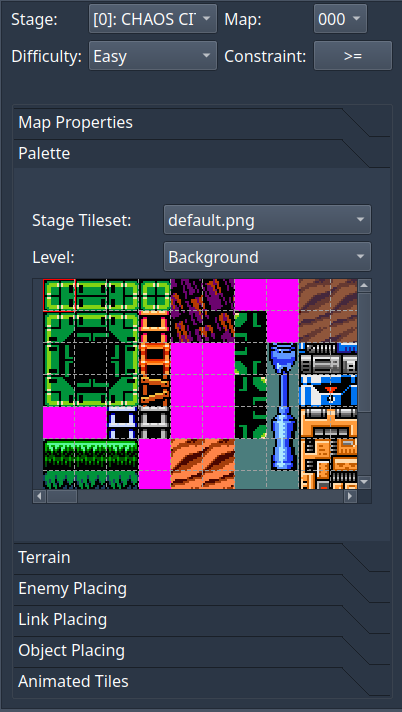
When you are in the tile edit mode (more on that later), the tile selected in this preview is the one to be added into the map. Click in any of the squares to select it.
Terrain
To determine if a given tile in the map is solid, staircase, spikes or other, you can use the terrain box to pick the one you want to set. Here is an explanation on each option:
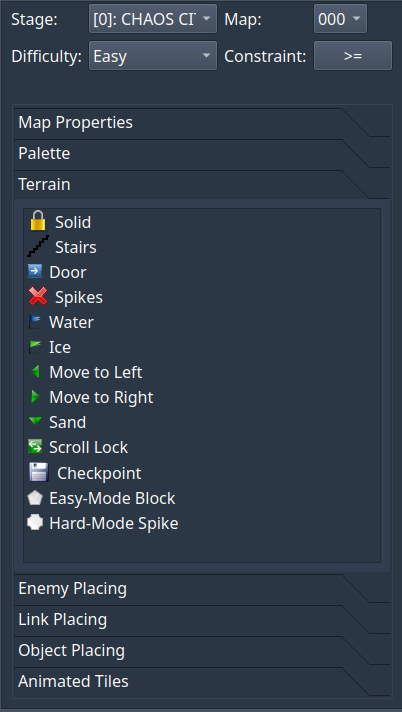
- Solid: the playere and enemies can’t move over it, and can use it as a platform to walk over.
- Stairs: Player can grab it and move up and down while holding the staircase formed by the tiles with this terrain type.
- Door: Used to transition the screen horizontally, it all tiles in the colum are solid or door types. Can’t return to the left after passing it.
- Spikes: If the player or enemy touches this tile, it will die immediataly.
- Water: Movement speed is reduced and jump is greather while moving over this type.
- Ice: When player walks over it and then do not press left/right anymore, it keeps moving for a while due to speed momentum making him slide a bit.
- Move to Left: Used for platforms like treadmills, when the player ir mover it, will be moved to the left direction even when standing. When walking the speed is added or subtracted.
- Move to Right: Same as Move to Left, but in the opposite direction.
- Scroll Lock: Very similar to door, but you can actually go back to the left and a new horizontal screen transition happens.
- Checkpoint: This is used to save the player position in case of his death. Currently we use objects for that, so those can be considered deprecated.
- Easy Mode Block: When the user picks easy difficulty, those blocks will appear as solid ones, and help in some difficult platforms. You can use it to adjust the stage to ease the way.
- Hard Mode Spike: For hard difficulty setting, you can add spikes, that kills the player if touched, in strategic areas of the map.
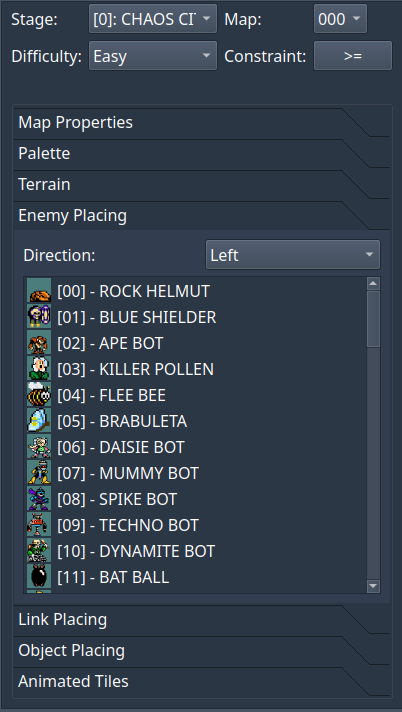
Enemy Placing
In this box you can select the enemy to be added to map and the default direction it will face when first appeara.
Link Placing
In order to switch between maps when the player reaches a part of the stage, by going up or down in a staircase, or reaching a teleport device, you use this box.
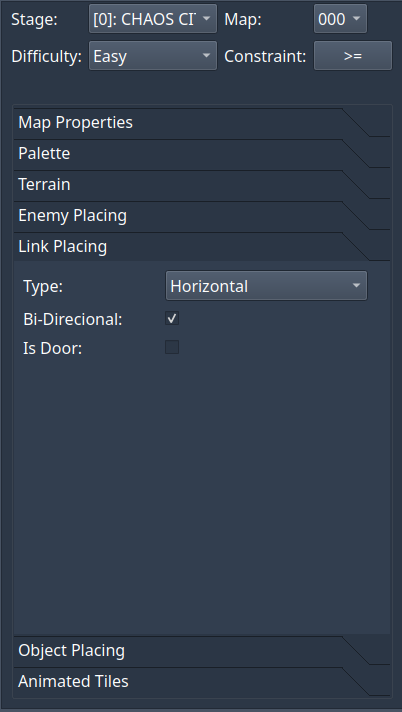
There are some options to configure the link. First is type:
- Horizontal: Deprecated, does not work.
- Vertical: Used in staircases. When you want to create from top to bottom place it in the last row, on contrary on the first one. Please note that, if the link is placed in a room that is on the righht, and the one you teleport to has space for moving to the right, once teleport finishes, ther scroll will start to adjust the screen. To avoid that, try to use closed rooms to the side (left or right) of the screen you place the link into.
- Teleporter: Screen goes black and you just appear in the new map.
- Fade Teleport: Just does a screen going to and from black to teleporting transition.
- Left or Right Lock: Finds the first wall (all tiles in the column solid, door or some type that is not unused or water) to that direction, and then teleport the player to there.
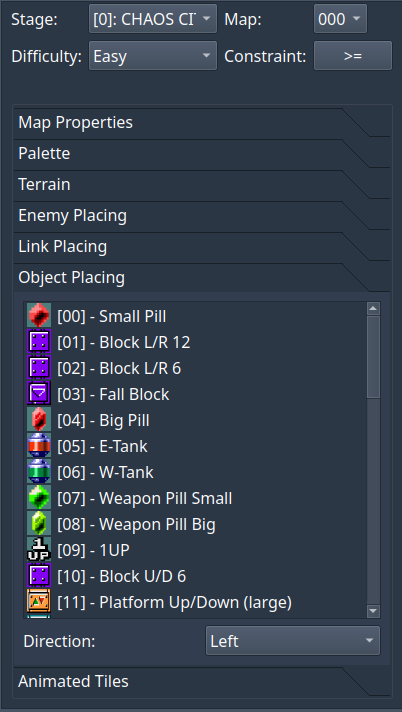
Object Placing
Same as Enemy Placing, but for objects.
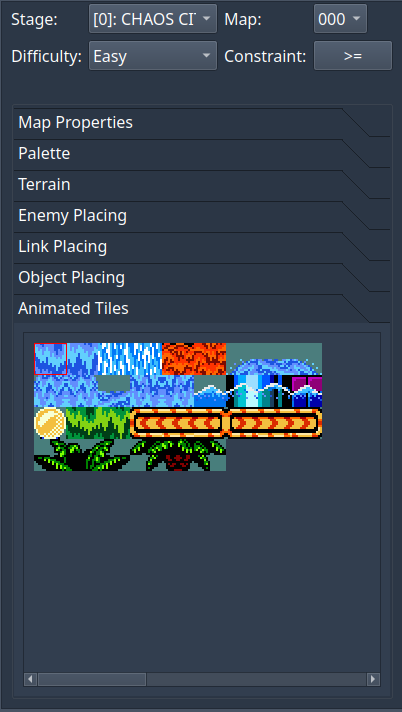
Animated Tiles
Similar to Palette box, this one places tiles that have an animation (see Animated Tiles section). If you want to set background or above for the tile, use the Palette dialog.
Editting the Map
Now that we have the basics, let’s go for a walkthrough editting a map.